Simple Example to Execute JUnit tests
This section will begin with a simple example which will illustrate the basic concepts involved in testing with JUnit.
This section will begin with a simple example which will illustrate the basic concepts involved in testing with JUnit.
Example: SimpleTest
import junit.framework.*; //1
public class SimpleTest extends TestCase{ //2
public void testSimpleTest() { //3
int result = 2;
assertEquals((1+1), result); //4
}
}
Explanations:
1 - This requires to execute our junit test case.
2 - We are extending JUnit TestCase class to run our test cases.
3 - This is one of the tests included within this "TestCase" class. Here we have added only one test method, we can add as many methods as we need.
4 - This simple test tests whether 1+1 is equal to the value of "result". This is just an extremely simple example.
To execute this programe:
1. Create a folder called JUnitTests under any of the drive.
2. Copy the above example into your favorite test editor and save it as SimpleTest.java
3. Comple the SimpleTest.java file
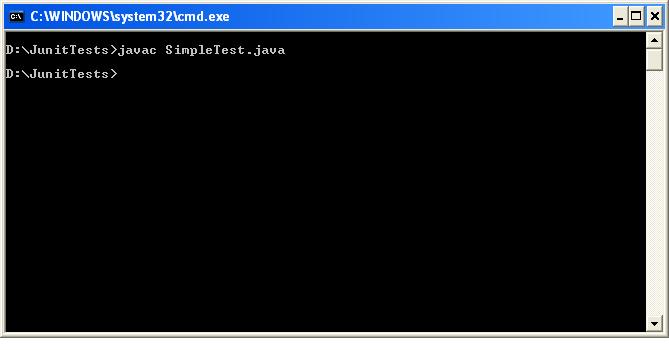 |
| Figure: Comiling SimpleTest.java |
4. Now we want to try this test out; there are three possible user interfaces for the JUnit TestRunner:
- TestUI: Provides text-based output to stdout
- AwtUI: Provides GUI-based output using AWT (Abstract Window Toolkit) from Java
- SwingUI: Provides GUI-based output using the Swing graphical user interface component kit from Java.
To select an interface execute the following command sequence.
For example if we wanted text based output for our TestCase we would issue command sequence as follows:
java junit.textui.TestRunner SimpleTest
Compile the file and then try this, you should see some output similar to this:
 |
| Figure: JUnit Test Case - Pass |
The above figure indicates that our test case has been passed, no failures have occurred.
Now, change the value of "result" in the example to something other than 2, recompile the file and run the test again, you should see output similar to this.
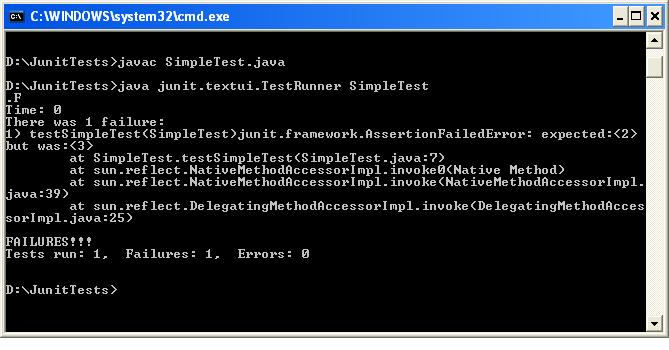 |
| Figure: JUnit Test Case -Fail |
If this was a real program we would have fix the error and recompile and re-test.
You should now begin to have an idea how to go about setting up a simple test in junit.
You should now begin to have an idea how to go about setting up a simple test in junit.
No comments:
Post a Comment